The Complete Guide to Building Your Own DIY Off-Grid Solar System: From Blueprint to Energy Independence
Where do you actually begin? Between charge controllers, battery banks, and inverter sizing, the learning curve can feel steeper than a roof pitch. Don’t worry. I’ve been there. This guide is your roadmap. We’re going to walk through every nut, bolt, and electron of creating a DIY off-grid solar system that actually works.
What Exactly Is a DIY Off-Grid Solar System?
Let’s cut through the technical fog. At its core, a DIY off-grid solar system is your personal, standalone power plant. It captures photons from sunlight using photovoltaic panels, converts that energy into electricity, stores the excess in batteries for later use, and transforms it into the type of power your appliances crave.
The “off-grid” designation means you’ve officially broken up with your utility company. No more bills. No more dependency. No more praying the grid stays up during an ice storm.
When you build a homemade solar energy system, you’re essentially becoming your own mini utility. You generate what you use. You store what you don’t immediately need. And you manage the entire flow from sun to socket. It’s a responsibility, sure—but it’s also freedom in its most tangible form.
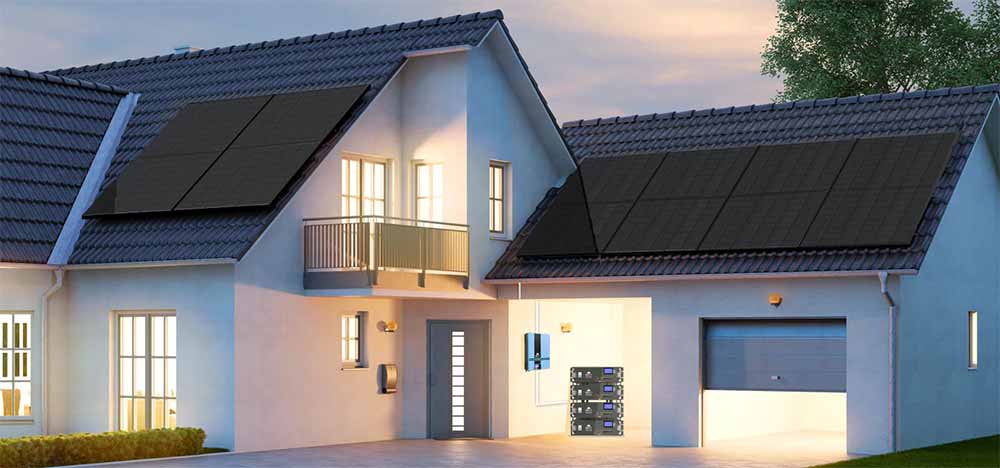
How It Differs from Grid-Tied Systems
This is where a lot of newcomers stumble. A grid-tied solar setup is like having a side hustle while keeping your day job. The panels on your roof reduce your utility bill, maybe even spin your meter backward, but when the sun sets or the clouds roll in, you’re still pulling power from the grid.
When does the grid go down? Your grid-tied system shuts off, too. It’s a safety requirement called anti-islanding, and it means those shiny panels on your roof become expensive roof decorations during outages.
A DIY off-grid solar system, on the other hand, is the full entrepreneurial leap. It’s your sole source of power. It operates completely independently, which means it keeps humming along when the neighborhood goes dark. The trade-off? You’re the CEO, the maintenance crew, and the customer service department. If something breaks, you fix it.
If you didn’t size your battery bank correctly, you will sit in the dark. But for many of us, that trade is worth every penny.
Is Going Off-Grid Right for You?
Before you start maxing out credit cards on lithium batteries, hit the pause button. Going off-grid is incredible, but it’s not universally perfect. Ask yourself some hard questions. Do you live in a region with decent sun exposure, or are you trying to power a cabin in the Pacific Northwest rainforest?
Are your energy needs reasonable, or are you sprawling in a 4,000-square-foot house with three chest freezers and a hot tub? Can you handle the upfront investment, which typically runs into the thousands?
If you’re the type who leaves every light in the house blazing and considers air conditioning a human right, a self-sufficient solar installation might feel like trying to fill a swimming pool with a garden hose.
But if you’re willing to embrace efficiency, understand your consumption patterns, and treat energy as a precious resource rather than an infinite entitlement, an off-grid solar power setup can absolutely transform your life.
DIY Off-Grid Solar System: The Core Components You’ll Need
Imagine building a DIY off-grid solar system like assembling a high-performance car. Every component has a specific job, and if one part underperforms, the whole machine suffers. Let’s pop the hood and look at what you’re actually buying.
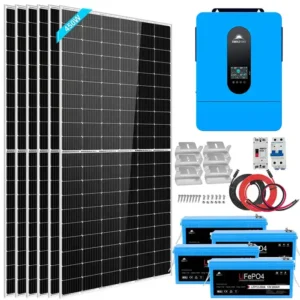
1. Solar Panels: Your Energy Harvesters
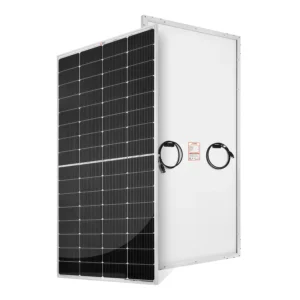
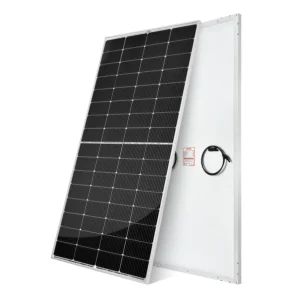
These flat, glass-covered rectangles are the face of your system—and for good reason. They’re where the magic starts. In 2026, monocrystalline silicon panels dominate the market, routinely pushing efficiency ratings above 22%. Some cutting-edge models are brushing up against 24%. That means more power per square foot, which matters enormously when roof space is limited.
For a typical household DIY off-grid solar system, you’re likely looking at installing anywhere from 8 to 16 panels, depending on your wattage needs and geographic location. A single 400-watt panel, baking in solid sunshine for five hours, generates 2,000 watt-hours of energy.
Multiply that by your array size, and you start seeing real numbers. But remember—panels are only as effective as their placement. Shade from trees, chimneys, or that satellite dish you forgot about can murder your output. Think of each panel as a solar sponge; block even a corner, and the whole sponge stops soaking properly.
2. Charge Controllers: The Brain of the Operation
If panels are the brawn, charge controllers are the brains. These unassuming boxes sit between your panels and your batteries, regulating voltage and current to prevent overcharging. Without a charge controller, your battery bank would cook like a forgotten Thanksgiving turkey.
In 2026, MPPT (Maximum Power Point Tracking) controllers are the undisputed champions for any serious battery-backed solar array. They’re roughly 30% more efficient than their older PWM cousins, especially during cloudy or low-light conditions.
They constantly track the optimal voltage from your panels and convert excess voltage into additional charging current. It’s like having a smart translator that not only speaks both languages but also finds extra meaning in every conversation.
3. Batteries: Your Energy Bank
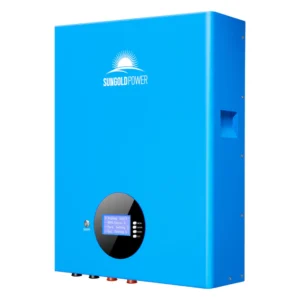
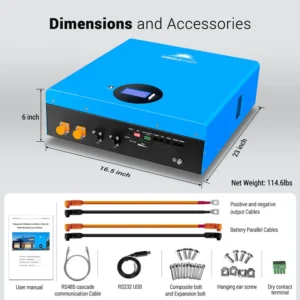
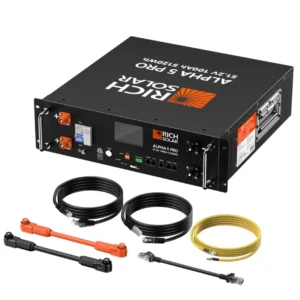
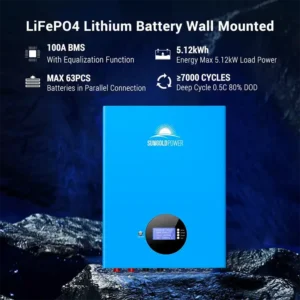
Here’s where things get interesting—and expensive. Your battery bank is the reservoir that keeps your lights on when the sun clocks out. In 2026, the landscape has shifted dramatically. Lithium iron phosphate (LiFePO4) batteries have become the gold standard for independent solar power solutions, and prices have dropped enough to make them accessible to serious DIYers.
Why the lithium love affair? Simple math. They deliver 5,000 to 10,000 charge cycles. They charge faster, discharge more deeply without damage, and weigh a fraction of what lead-acid monsters weigh. Plus, they don’t off-gas hydrogen or require you to top off cells with distilled water like you’re maintaining a Victorian steam engine.
Lithium vs. Lead-Acid: Which One Wins?
Let’s lay it out clearly. Lead-acid batteries are the budget option. They’re like buying a used pickup truck—cheap upfront, rusty around the edges, and destined for the junkyard sooner than you’d like.
You’ll get maybe 1,000 cycles if you’re gentle, and you’ll only be able to use 50% of their rated capacity without damaging them. Lithium batteries, conversely, are the Tesla Model 3 of energy storage. Higher initial price tag, but you’re getting 80-90% usable capacity, zero maintenance, and a lifespan that stretches into decades.
For anyone building a long-term off-grid solar power setup, lithium isn’t just better—it’s cheaper when you calculate cost per cycle. It’s the difference between buying a tool once and buying it five times.
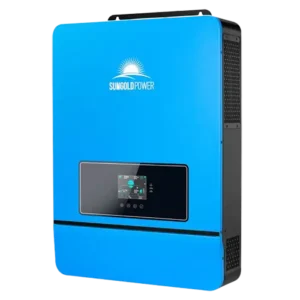
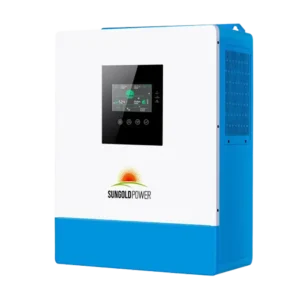
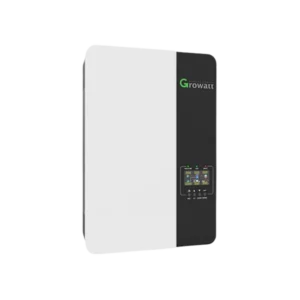
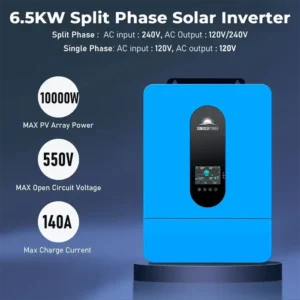
4. Inverters: Turning DC into Usable AC
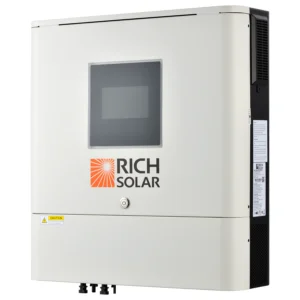
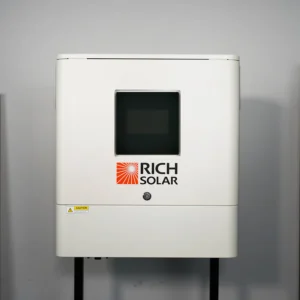
Here’s a fact that surprises people: solar panels and batteries produce DC power, but virtually everything in your house runs on AC. Your inverter bridges that gap. It takes the steady, one-directional current from your batteries and transforms it into the oscillating current your appliances understand.
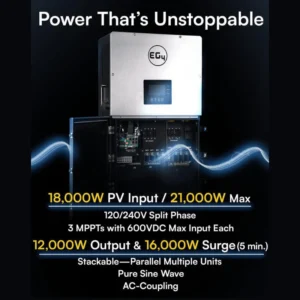
Don’t even think about skimping here. A pure sine wave inverter is mandatory for modern electronics. Modified sine wave inverters might save you a hundred bucks, but they’ll make your devices run hot, buzz like angry hornets, and eventually fail.
Size your inverter for your peak load—that terrifying moment when the water pump, refrigerator compressor, and microwave all demand power simultaneously. For most residential DIY off-grid solar systems, a 3,000 to 5,000-watt pure sine wave inverter hits the sweet spot.
Sizing Your System: The Math That Matters
I’ll be straight with you. This is the part where most people either glaze over or guess badly. Both are expensive mistakes. Sizing isn’t just about slapping enough panels on your roof to look impressive. It’s about balancing generation, storage, and consumption in a delicate three-way dance.
1. Calculating Your Daily Energy Consumption
Time to play detective. Grab a notebook, a calculator, and maybe a glass of wine. Walk through your house and list every electrical device you intend to run. Note the wattage of each—usually printed on a label or in the manual—and estimate daily runtime hours.
That refrigerator humming in your kitchen? It might draw 150 watts but runs about 8 hours cumulatively over 24 hours. That’s 1,200 watt-hours. Is your laptop at 60 watts for 6 hours? Add 360. LED lights, phone chargers, well pumps, coffee makers—tally everything.
Most efficient households targeting a complete off-grid energy system land between 5 and 12 kilowatt-hours daily. Write your number down. It’s the foundation everything else builds on.
Watt-Hours (Wh) = Appliance Wattage × Hours Used Per Day
Add up the watt-hours for every appliance on your list, and you get your total daily energy demand — the single number that drives every other decision in your DIY off-grid solar system: how many panels you buy, how big your battery bank needs to be, and what size inverter you need to handle the load.
Sample Load Table — Small Off-Grid Cabin
| Appliance | Wattage | Hours/Day | Watt-Hours/Day |
|---|---|---|---|
| LED lights (x6) | 60W total | 5 | 300 |
| Mini fridge | 70W | 24 (cycling) | 700 |
| Laptop + router | 75W | 6 | 450 |
| Water pump | 120W | 1 | 120 |
| Phone charging | 10W | 3 | 30 |
| Total (before 20% buffer) | 1,600 Wh | ||
| Total with 20% buffer | ~1,920 Wh/day | ||
2. Factoring in Weather and Seasonal Changes
Mother Nature doesn’t care about your spreadsheets. December days are shorter than June days. Storms happen. Wildfire smoke blocks the sun. A solid rule for any remote cabin solar kit or home installation is to oversize your array by at least 25-30% above your calculated daily needs.
If your math says you need 6 kilowatt-hours daily, design for 8. It’s insurance. It’s also the difference between thriving off-grid and merely surviving while anxiously watching battery percentages drop.
Step-by-Step Installation Guide
Enough theory. Let’s talk about actually building this thing.
1. Planning and Permits
Even in 2026, going off-grid doesn’t always mean going unnoticed. Many municipalities still require permits for structural additions, electrical work, or battery storage installations. Some HOAs have opinions about roof aesthetics. Before you unbox a single panel, call your local building department.
Ask specifically about off-grid installations. Sketch your layout. Identify your south-facing roof section or ground-mount area. Know your setbacks. A few hours of bureaucratic homework can prevent weeks of legal headaches.
2. Mounting Your Panels
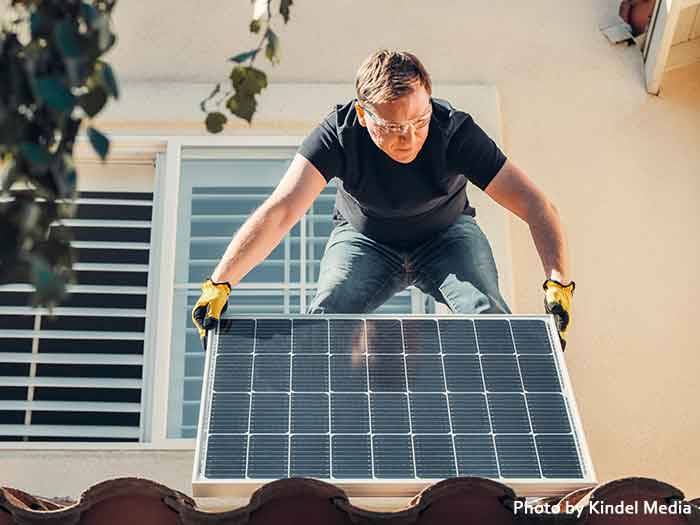
You’ve got two primary options: roof mount or ground mount. Roof mounts save precious yard space and keep panels out of reach of curious kids or deer. But they demand a structurally sound roof and make cleaning slightly more adventurous. Ground mounts offer easier access, optimal tilt angles, and simpler maintenance, but they require dedicated land and more trenching for wiring.
In the Northern Hemisphere, orient your panels toward true south—not magnetic south, which your compass shows. The difference can be significant. Tilt them roughly to your latitude for year-round balance, or adjust seasonally if you’re using an adjustable ground rack.
Secure everything with commercial-grade racking and stainless hardware. Your panels need to laugh at 70-mph winds, not wave goodbye to your yard.
3. Wiring Everything Together
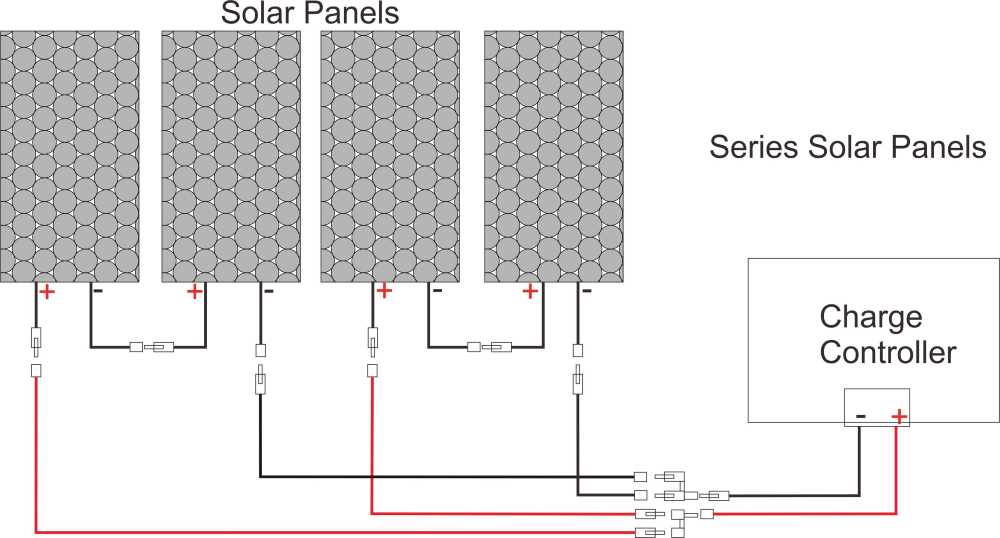
This is where sweat equity meets actual electricity. Run appropriately sized copper wire from your panel array to your charge controller, then from the controller to the battery bank, and finally from the batteries to the inverter. Use DC-rated breakers or fuses at every junction. Label everything. Future-you will thank present-you when troubleshooting at midnight.
Treat your battery connections with an antioxidant compound. Keep DC and AC wiring separated and clearly marked. If you’re not 100% confident working with live electrical circuits, hire a licensed electrician for the final hookups. There’s no shame in that. There’s plenty of shame in burning down your garage because you misunderstood wire gauge requirements.
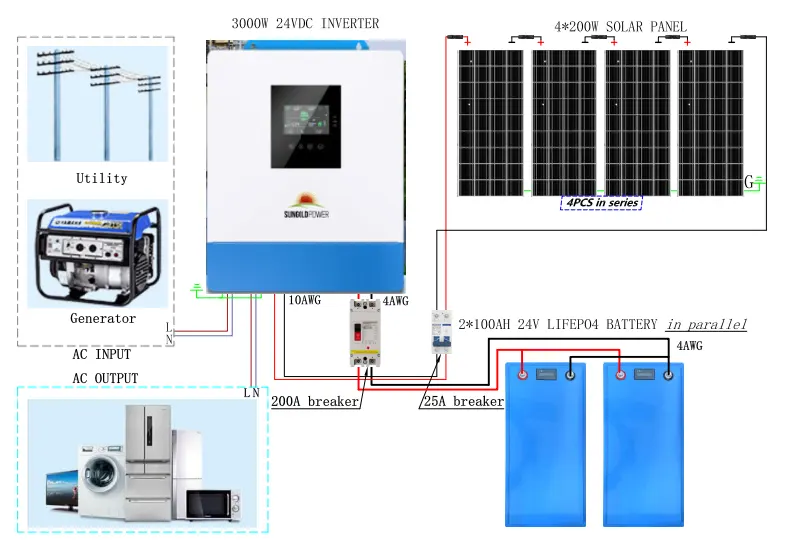
Reminder: PV Ground and AC Ground should be isolated from each other and NOT connected together!!!
Cost Breakdown: What Will It Really Set You Back?
Let’s rip the band-aid off. Quality isn’t cheap, but ignorance is costlier. In 2026, here’s what you can realistically expect to invest in a solar plus storage DIY project:
| Component | Budget Setup | Mid-Range System | Premium Build |
|---|---|---|---|
| Solar Panels (6-10 kW array) | $1,800 – $3,000 | $3,500 – $5,500 | $6,000 – $9,000 |
| MPPT Charge Controller | $200 – $400 | $500 – $900 | $1,000 – $1,800 |
| Battery Bank (10-20 kWh) | $2,500 – $4,000 | $5,000 – $8,000 | $10,000 – $18,000 |
| Pure Sine Wave Inverter | $500 – $900 | $1,200 – $2,000 | $2,500 – $4,500 |
| Racking, Wiring, Hardware | $600 – $1,200 | $1,500 – $2,500 | $3,000 – $5,000 |
| Total Estimated Cost | $5,600 – $9,500 | $11,700 – $18,900 | $22,500 – $38,300 |
Federal tax credits and state-level incentives can defray 30% or more of these costs. Some rural energy programs even offer grants for off-the-grid renewable energy installations. Always check the Database of State Incentives for Renewables & Efficiency before finalizing your budget.
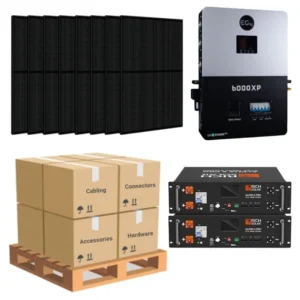
Top Off-Grid Solar Kit Supplier
| Name | Price Range | Discount |
|---|---|---|
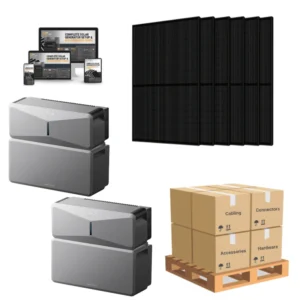
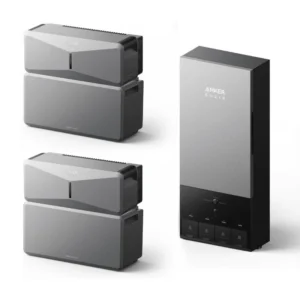
| Sun Gold Power | $5,774 – $31,853.00 | 👉 Get Special Offers |
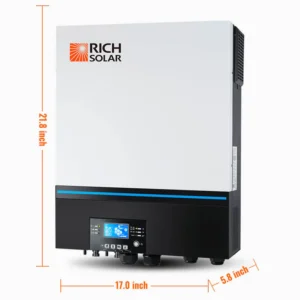
| Rich Solar | $7,999 – $25,99.99 | 👉 Get Special Offers |
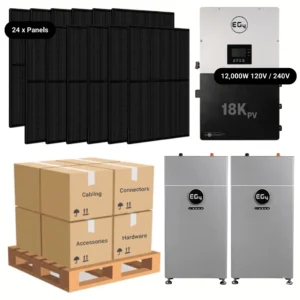
| ShopSolarKits | $2,539 – $149,989.99 | 👉 Get Special Offers |
Common Rookie Mistakes to Avoid
I’ve watched brilliant people sabotage their self-sufficient solar installation through completely avoidable blunders. Don’t join their ranks.
- First, never mix batteries of different ages, brands, or chemistries in the same bank. They’ll behave like incompatible organ donors, degrading collectively at the speed of the weakest cell.
- Second, don’t undersize your inverter. That 2,000-watt bargain won’t handle your 2,400-watt well pump’s startup surge.
- Third, ground your system properly. Lightning seeks ungrounded conductors like moths seek flames.
- Fourth, plan for expansion. Leave room in your charge controller’s amperage rating and your battery bay’s physical space. Your needs will grow.
Finally, read the manuals. I know, revolutionary concept. But those glossy booklets contain voltage limits, temperature ranges, and warranty conditions that actually matter.
Maintenance Tips for Long-Term Success
The good news? A well-built DIY off-grid solar system is remarkably low-maintenance. The bad news? “Low” doesn’t mean “zero.”
1. Cleaning and Inspecting Panels
Dust, pollen, bird droppings, and fallen leaves are the silent killers of solar efficiency. A dirty panel can lose 15-25% of its output without you noticing. Every three months, give your array a gentle wash with mild soapy water and a soft brush or squeegee. Inspect while you clean. Look for micro-cracks, delamination, or loose connections. Catching issues early prevents catastrophic failures later.
2. Battery Care and Lifespan
Even maintenance-free lithium batteries appreciate attention. Keep them in a temperature-stable environment—ideally between 50°F and 80°F. Extreme heat accelerates aging; extreme cold reduces usable capacity. Check terminal tightness quarterly. Monitor your battery management system (BMS) readings.
And never, ever drain them to absolute zero. Most LiFePO4 banks thrive when kept between 20% and 90% state of charge. Treat them like a premium smartphone battery, not a disposable alkaline.
3. Backup Power Options for Cloudy Seasons
Here’s a reality check even the sunniest optimist must face: there will be weeks when your panels underperform. A week of relentless rain, a blizzard burying your array, or simply the short days of December can strain even an oversized system.
Smart builders of independent solar power solutions incorporate backup generators—preferably propane or diesel—sized to recharge batteries during emergencies. Some folks add small wind turbines as hybrid supplements. The goal isn’t to abandon solar; it’s to sleep soundly knowing you have a Plan B when the weather refuses to cooperate.
Is a DIY Off-Grid Solar System Worth It?
So after all the math, the wiring, the permits, and the expense—is it worth it? In my thoroughly biased but deeply experienced opinion, absolutely. There is something profoundly satisfying about walking into your home knowing every watt illuminating the room came from your own ingenuity and the free fusion reactor in the sky.
A DIY off-grid solar system asks more of you than simply mailing a check to the power company. It demands awareness. It teaches you to respect energy, to understand your consumption, to fix what breaks. But the return on that investment isn’t just financial—though the elimination of monthly bills is genuinely sweet.
The real payoff is resilience. When storms knock out the neighborhood, your house glows. When rates spike 20%, you laugh. When the world feels unstable, your foundation is literally powered by the most reliable force in our solar system.
Conclusion
Building a DIY off-grid solar system in 2026 is neither a weekend whim nor an impossible moonshot. It’s a methodical, deeply rewarding project that sits squarely in the realm of “challenging but totally doable.” From selecting monocrystalline panels and lithium battery banks to pulling permits and running conduit, every step teaches you something valuable about energy, independence, and your own capabilities.
Start with honest math. Size for reality, not optimism. Buy quality components that won’t fail when you need them most. And remember: you don’t have to build Rome in a day. Many successful off-gridders begin with a small system powering just a shed or cabin, then scale up as confidence and budget allow.
The sun rises every morning, offering free fuel to anyone smart enough to collect it. So grab your tools, trust the process, and start building the energy-independent life you’ve been dreaming about. Your off-grid future is brighter than you think.
FAQs About DIY Off-Grid Solar System
Costs vary widely based on scale and component quality. A small cabin setup might run $5,000 to $10,000, while a full residential off-grid solar power setup typically ranges from $15,000 to $35,000. Federal tax credits and local incentives can reduce out-of-pocket expenses by 30% or more.
You can absolutely handle planning, component selection, panel mounting, and much of the wiring yourself. However, complex electrical connections, grounding systems, and permit inspections often require a licensed electrician. Safety and code compliance should never be DIY gambles.
Lithium iron phosphate batteries commonly last 10 to 15 years, delivering 5,000 to 10,000 cycles. Lead-acid alternatives typically survive 3 to 5 years with careful use. Longevity depends heavily on depth of discharge, temperature management, and charging practices.
Properly sized systems account for seasonal variation by oversizing arrays 25-30%. Many off-gridders also maintain backup generators or small wind turbines to supplement their standalone photovoltaic system during extended low-sun periods.
While generally legal, regulations vary significantly. Building codes, electrical permits, fire safety requirements, and HOA covenants may restrict or govern how you install your self-sufficient solar installation. Always verify local requirements before purchasing equipment.
You Might Also Like